How To Remove Seeds

Do you like seeds in your jam?

I’ve only met one person who reported liking seeds in her jam. In fact she said “the more the better”. But most people seem to prefer seedless jam. The same is true for tomato sauce. No seeds.

How do you remove all those tiny seeds?

Blackberries, raspberries and tomatoes all have bothersome seeds. I have two different methods for removing seeds. The choice of which to use depends on the final product.  

For blackberry or raspberry jam, I use a Juice Mate.

Juice Mate

This hand cranked strainer has a spiral inside that pushes the berries through and squeezes it against a fine mesh strainer. It will remove almost all seeds of these berries. The resulting pulp and juice makes a fine seedless jam.  

The Juice Mate also works wonders for tomato juice. After washing, coring and quartering the tomatoes, the Juice Mate will remove seeds and skin.

Juice Mate showing screen

One downside to this system is the cleanup, but here’s a tip: take the screen outside and use the garden hose for the first rinse. The power of the hose blasts out the stuck seeds allowing for an easier wash back in the house.

What about tomato sauce?

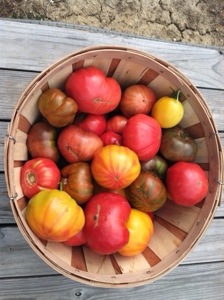
When making tomato sauce, I want the meaty sections of the tomato intact and  an occasional seed is not as much of a concern. After removing the skin, I cut the tomatoes in half and drag out as much of the seed section as possible with a finger. Sometimes with juicier tomatoes simply squeezing the tomato half does the trick.  

If you have any tricks or tips for removing seeds, we would love to hear about it. Send us a message through Facebook, Twitter or Instagram or an old-fashioned email.

Fresh Tomato Sauce

Forget about that thin, tasteless, bland tomato-colored sauce you buy in a can. In only a few steps you can make your own, either to store for future use or eat immediately.  The current abundance of fresh, ripe tomatoes is the perfect time to create your own delicious and nutritious sauce.

How many tomatoes do I need?

Most recipes in a canning or preserving guide require weighing tomatoes. It is hard to weigh out 10 pounds or 15 pounds of tomatoes in a home kitchen. Plus, what if you have 13 pounds? Or 7?

I don’t have much time. How long will this take?

We all need to maximize our time. There is a certain amount of time required to turn home grown tomatoes into a delicious seasoned sauce. My method allows you to make sauce easily with large blocks of unattended time. You will not have to stand over the stove, stirring constantly to prevent scorching.

Here’s how you do it.

Prepare a boiling water bath and large bowl of ice water. Wash tomatoes. Working in batches, drop tomatoes into boiling water for 30 seconds then place into ice bath. This will help the skins slip off easily.

Hint: I use a large pasta pot to do this task. The inner strainer basket can be lifted out and tomatoes dumped at once into the bowl of ice water. This saves fishing out each tomato one at a time.

Peel, seed and quarter tomatoes. Place on a parchment lined, rimmed sheet pan in a single layer. Add olive oil and Italian herbs to taste. There is no real way to give a measurement as the amount is based on how many tomatoes you have and your personal taste. (I use approximately 1/4 cup olive oil and 2-3 Tbsp of seasoning for a full pan.) Leaving out salt at this stage is purposeful. If you are going to use the sauce fresh, go ahead and salt to taste. If you are freezing for later use, add salt at the time of use.

Seasoned Tomatoes on Baking Pan

Bake at 300º convection or 325º, stirring every hour until the tomatoes have cooked and thickened. This will take approximately 2 hours, or more depending on the liquid content of the tomatoes. This is where you can go do another task while the sauce bakes.

When the tomatoes have cooked and thickened to your liking, pour into a deep bowl and puree with an immersion blender. If you don’t have one of these, you should stop everything and go get one. Seriously. There are many inexpensive versions available. Otherwise, you can use a blender, but work in small batches to avoid splashing burns.

Use now or preserve.

Your sauce is now ready for use. Boil a pasta of your choice, top with sauce and freshly grated parmesan.

I have successfully frozen this in 1 cup portions in a ziplock baggie. It will keep for one year in the freezer. My next batch will be preserved in canning jars following the Ball book canning guidelines for seasoned tomato sauce.

Be sure to follow our Facebook, Twitter and Instagram social media accounts for daily inspiration and Five Feline Farm goodness. And if you are not already a subscriber to our email list, please sign up. Blog posts and random information will show up in your email, courtesy of Five Feline Farm. 


Make a Quick Nutritious Meal

Do you ever find yourself dragging in after work, tired, hungry and ready for a quick meal? Standing in front of the refrigerator, shuffling from one foot to the next, moving to the pantry and wishing for something to fly off the shelf ready to eat? The temptation to call for pizza delivery is strong.

This week I experienced one of those nights. I was wiped out and muddling around the kitchen, my brain was tired of thinking. Coming up with an idea for supper was almost beyond the remaining energy available.

For times like this, I have found the best solution is to always stock the ingredients for one or two simple meals. One of our Farm favorites is pasta with homemade marinara.

Pasta is a simple food, quick to prepare and easy to find a dried version that has limited mystery ingredients. Our marinara is made in the summer when tomatoes are plentiful, then frozen in one cup portions. (You can find the recipe in my book Simply Delicious, but if you stock canned crushed tomatoes and Italian herbs in your pantry, you can make an excellent version.)

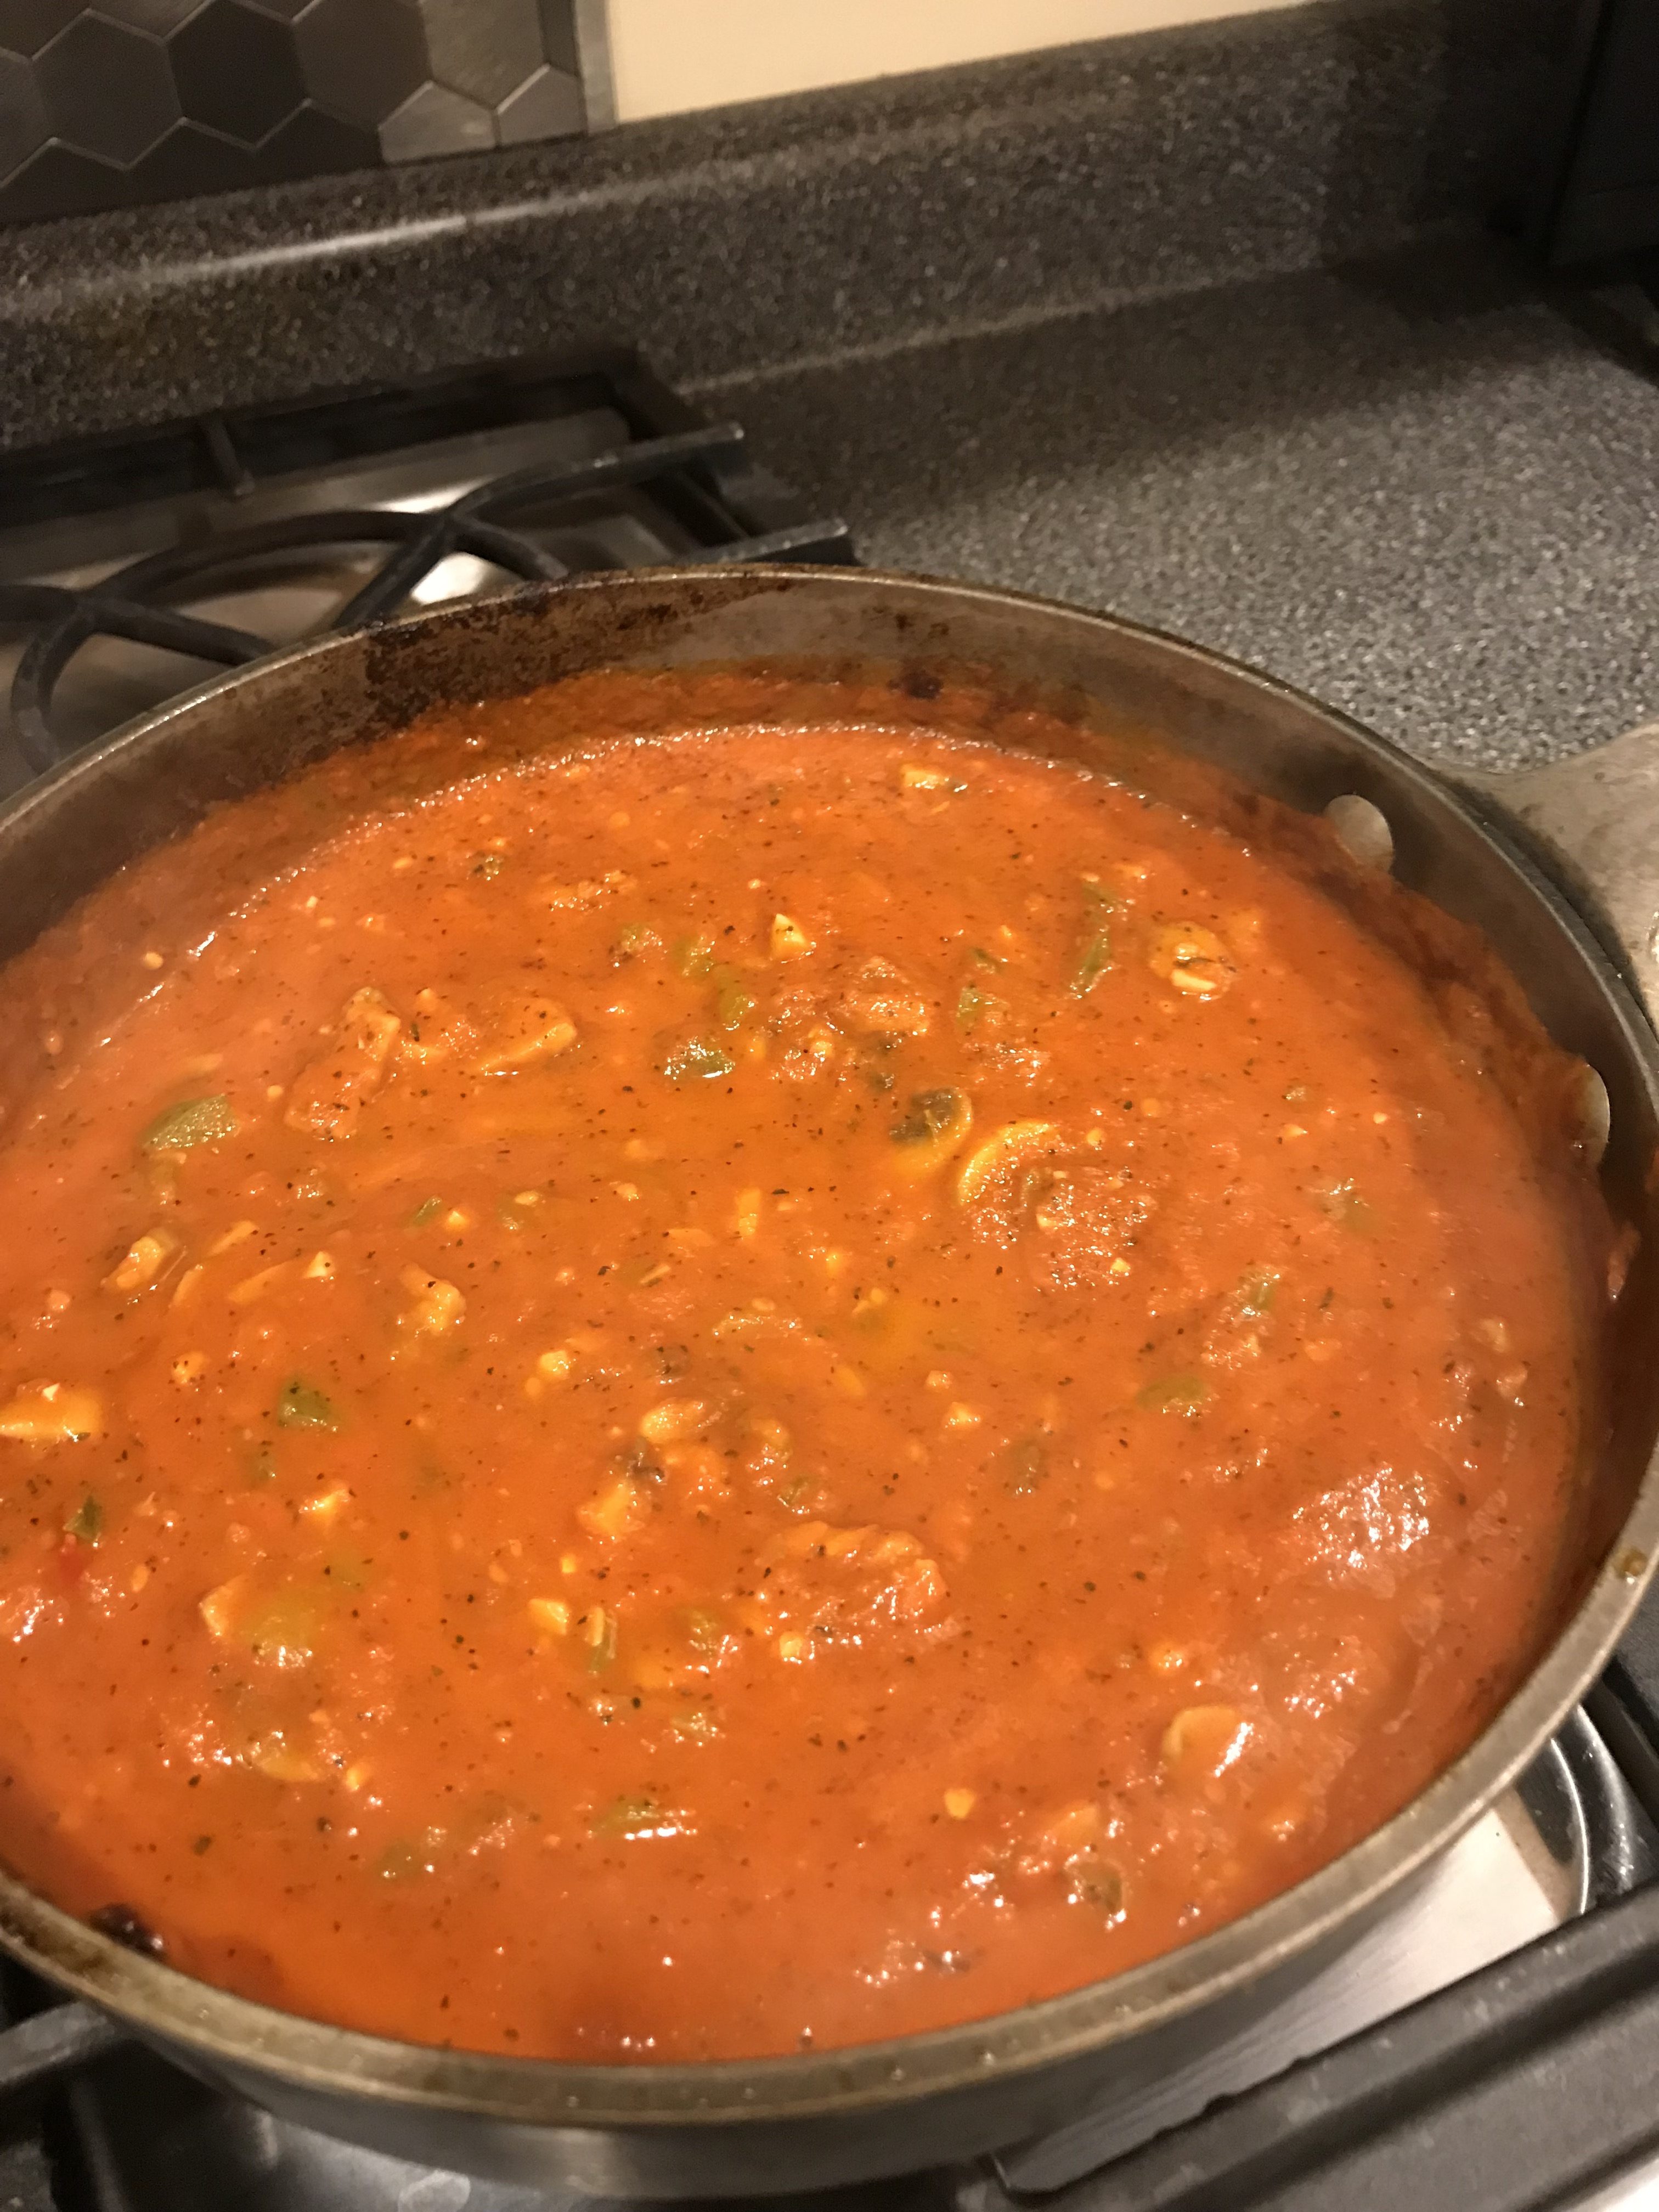
On this particular evening I did not want to eat meat so used mushrooms sauteed with garlic in olive oil to give a meaty texture and extra flavor to the sauce. Pour over hot pasta and serve.

Pasta like this needs a green salad. We were blessed to have fresh late season garden lettuce and a few remaining tomatoes. The tomatoes were picked green just before frost and allowed to ripen in the garage. I added some crumbled home made buttermilk cheese, salt, pepper and a simple dressing of balsamic glaze and olive oil.

In less than thirty minutes a salad, pasta and bread were on the table. My desire for fast home-cooked natural food was satisfied.

The time it took to prepare and freeze the sauce in the summer made tonight’s meal warm, easy and satisfying.

You can do this too. Decide on a few meals with simple quick cooking ingredients that can be stored in your pantry or freezer. Keep those items on hand and you will be ready to fix a homemade meal at a moment’s notice. You will be glad you did.

Pasta with Marinara for Two

1 cup home made frozen marinara or 1 can crushed tomatoes + 2 tsp Italian herb seasoning blend

4 ounces diced fresh button mushrooms

2 cloves garlic, minced

1 Tbsp olive oil

Pasta of choice cooked according to package directions

Heat olive oil in saute pan over medium heat. Add mushrooms. Cook, stirring occasionally for 3-4 minutes, then add garlic. Continue to cook for an additional 1-2 minutes. If using canned crushed tomatoes and Italian herbs, add the herbs and saute for 1 minute, then add canned tomatoes. If using home made tomato sauce, add to the mushroom mixture and cook until flavors are blended and heated through. Serve over hot pasta.

Making Tomato Sauce

Making food from scratch can take time. One of the main reasons busy people don’t make food from scratch is this time commitment.

But, there is a way to fit home made food into a busy schedule. Here’s an example of how we did homemade tomato sauce in several stages to fit our schedule.

Think in small batches.

Almost no one has an entire day to devote to processing a large bunch of produce and completing it all in one day. If you do find yourself with a free Saturday and bushels of tomatoes, these steps can all be crunched into one day. That is a rarity for us, so breaking it down into small steps is a necessity.

Pick the tomatoes.


Don’t plan to do anything else. Just pick tomatoes. Tomatoes will keep at room temperature for 3-4 days depending on the ripeness when picked. It is ok to pick a bit underipe and finish on a window sill or kitchen counter.

Peel and seed.

Prepare a pot of simmering water and a pan or sink of ice water. Drop the tomatoes in the simmering water for 30-45 seconds, then plunge into the ice bath. Skins will slip off easily. Slice the tomatoes in half horizontally, squeeze out the seeds (sometimes it helps to dig them out with your finger), cut out the core, and quarter the tomatoes. Unless you are sensitve to tomato seeds, it is not necessary to get out every single seed. Cover and refrigerate the tomatoes for up to 2 days.

Sometimes we stretch this step out over a couple of days if needed to get all of the tomatoes peeled, seeded and cut.

Season and bake. 

 Yes, bake. Line a shallow baking pan with parchment paper, place tomato quarters in a single layer and drizzle with olive oil. The amount of olive oil is personal preference. At Five Feline Farm, a full baking sheet gets about 1/3 cup of olive oil. Then sprinkle with your favorite Italian herb seasoning. We like strong flavors, so we use 2-3 Tbsp.

If you have a convection oven, convection bake at 300º. If you do not, bake at 325º, and expect about a half hour longer. Stir every hour until the tomatoes are cooked through and most of the juices have cooked off. In the convection oven this takes about 2 hours.

This step sounds like a long time, but the actual active involvement is 15 minutes or so. In between stirring you can relax, watch TV, eat supper, or work on another household task. As a bonus, the aroma wafting from the oven is heavenly.

After baking, pour the tomatoes into a storage bowl and refrigerate. This will hold in the fridge another day or so until you have time for the next step.
Blend and store.

Use an immersion blender to quickly blend the baked tomatoes into a thick sauce. If you don’t have an immersion blender, you can use a regular blender or food processor; however immersion blenders are fairly inexpensive and so versatile that this is really the way to go.

After blending, ladle into freezer baggies, seal and store. We typically freeze in 1 cup portions.

When ready to use, the sauce can be thawed in the refrigerator, defrosted in the microwave and added to a recipe or thoroughly heated in the microwave. You will be tempted to eat straight from a spoon.